Unleash the Magic of Planting Garlic Seeds for a Bountiful Harvest: Tips & Tricks Revealed!
Discover the secrets of planting garlic seeds for a flavorful harvest. Learn the step-by-step process, from selecting the right seeds to nurturing your crop. Get expert tips and tricks now!
Introduction:
Welcome to the wonderful world of garlic cultivation! Planting garlic seeds is not only a rewarding endeavor but also a delightful journey that culminates in a bountiful harvest of flavorful bulbs. Whether you’re a seasoned gardener or a novice enthusiast, this comprehensive guide will equip you with everything you need to know to successfully grow your own garlic. From selecting the finest seeds to mastering the art of cultivation, let’s embark on this aromatic adventure together.
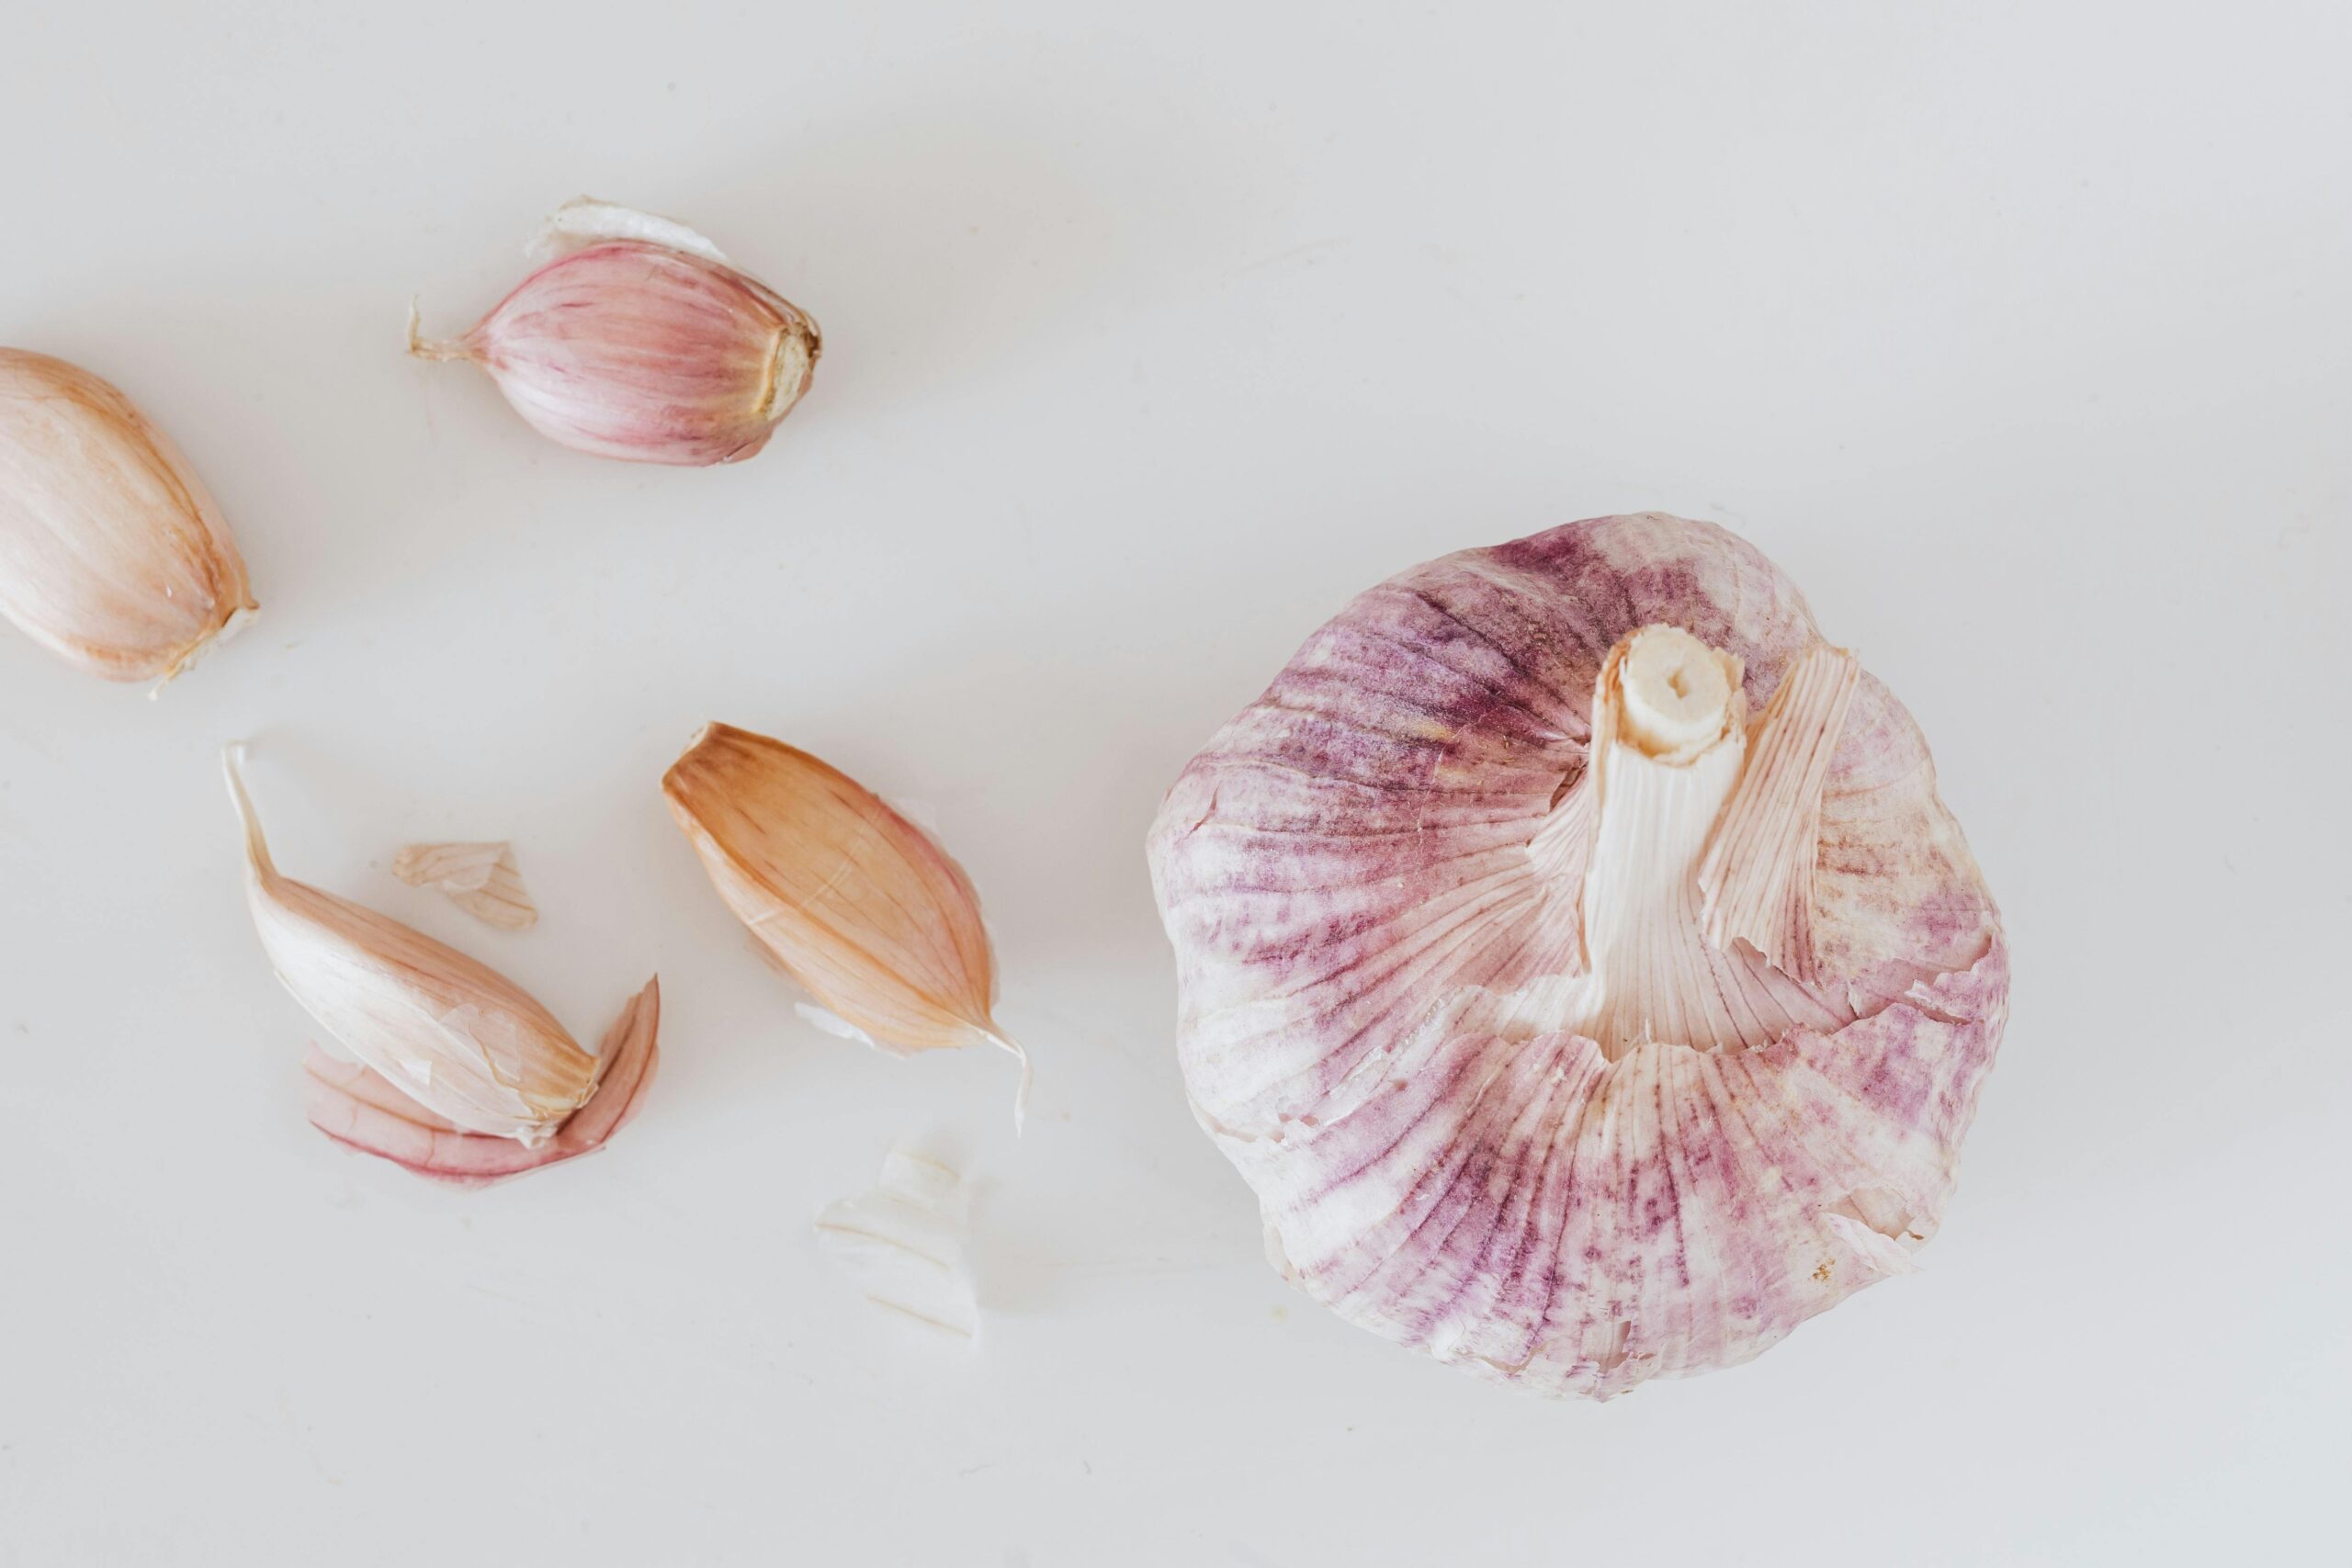
1. Choosing the Right Garlic Seeds
Selecting high-quality garlic seeds is the crucial first step towards a successful harvest. Opt for organic bulbs from reputable suppliers to ensure optimal germination and robust growth. Look for varieties suited to your climate and soil conditions, whether softneck or hardneck, to maximize yield and flavor.
2. Understanding Soil Requirements
Garlic thrives in well-drained, fertile soil with a pH level between 6.0 and 7.0. Prior to planting, amend your soil with organic matter, such as compost or aged manure, to enhance nutrient availability and soil structure. Avoid waterlogged or compacted soil, as it can impede root development and lead to poor growth.
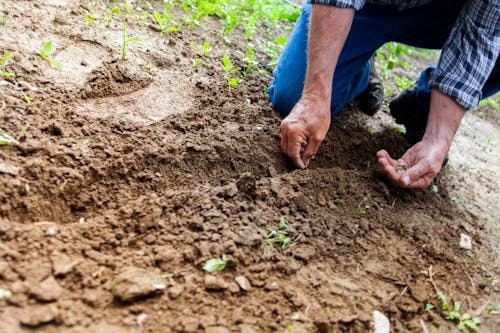
3. Preparing the Planting Site
Choose a sunny location with at least 6–8 hours of direct sunlight per day for optimal garlic growth. Clear the planting area of weeds and debris, ensuring adequate space between rows for air circulation and easy cultivation. Consider using raised beds or containers for improved drainage and soil warmth, especially in cooler climates.
4. Planting Garlic Seeds
Plant garlic seeds in the fall, typically 4-6 weeks before the first frost date in your area. Separate the bulbs into individual cloves, selecting the largest and healthiest ones for planting. Space the cloves 6–8 inches apart in rows, with 12–18 inches between rows, and plant them 2 inches deep with the pointed end facing up.
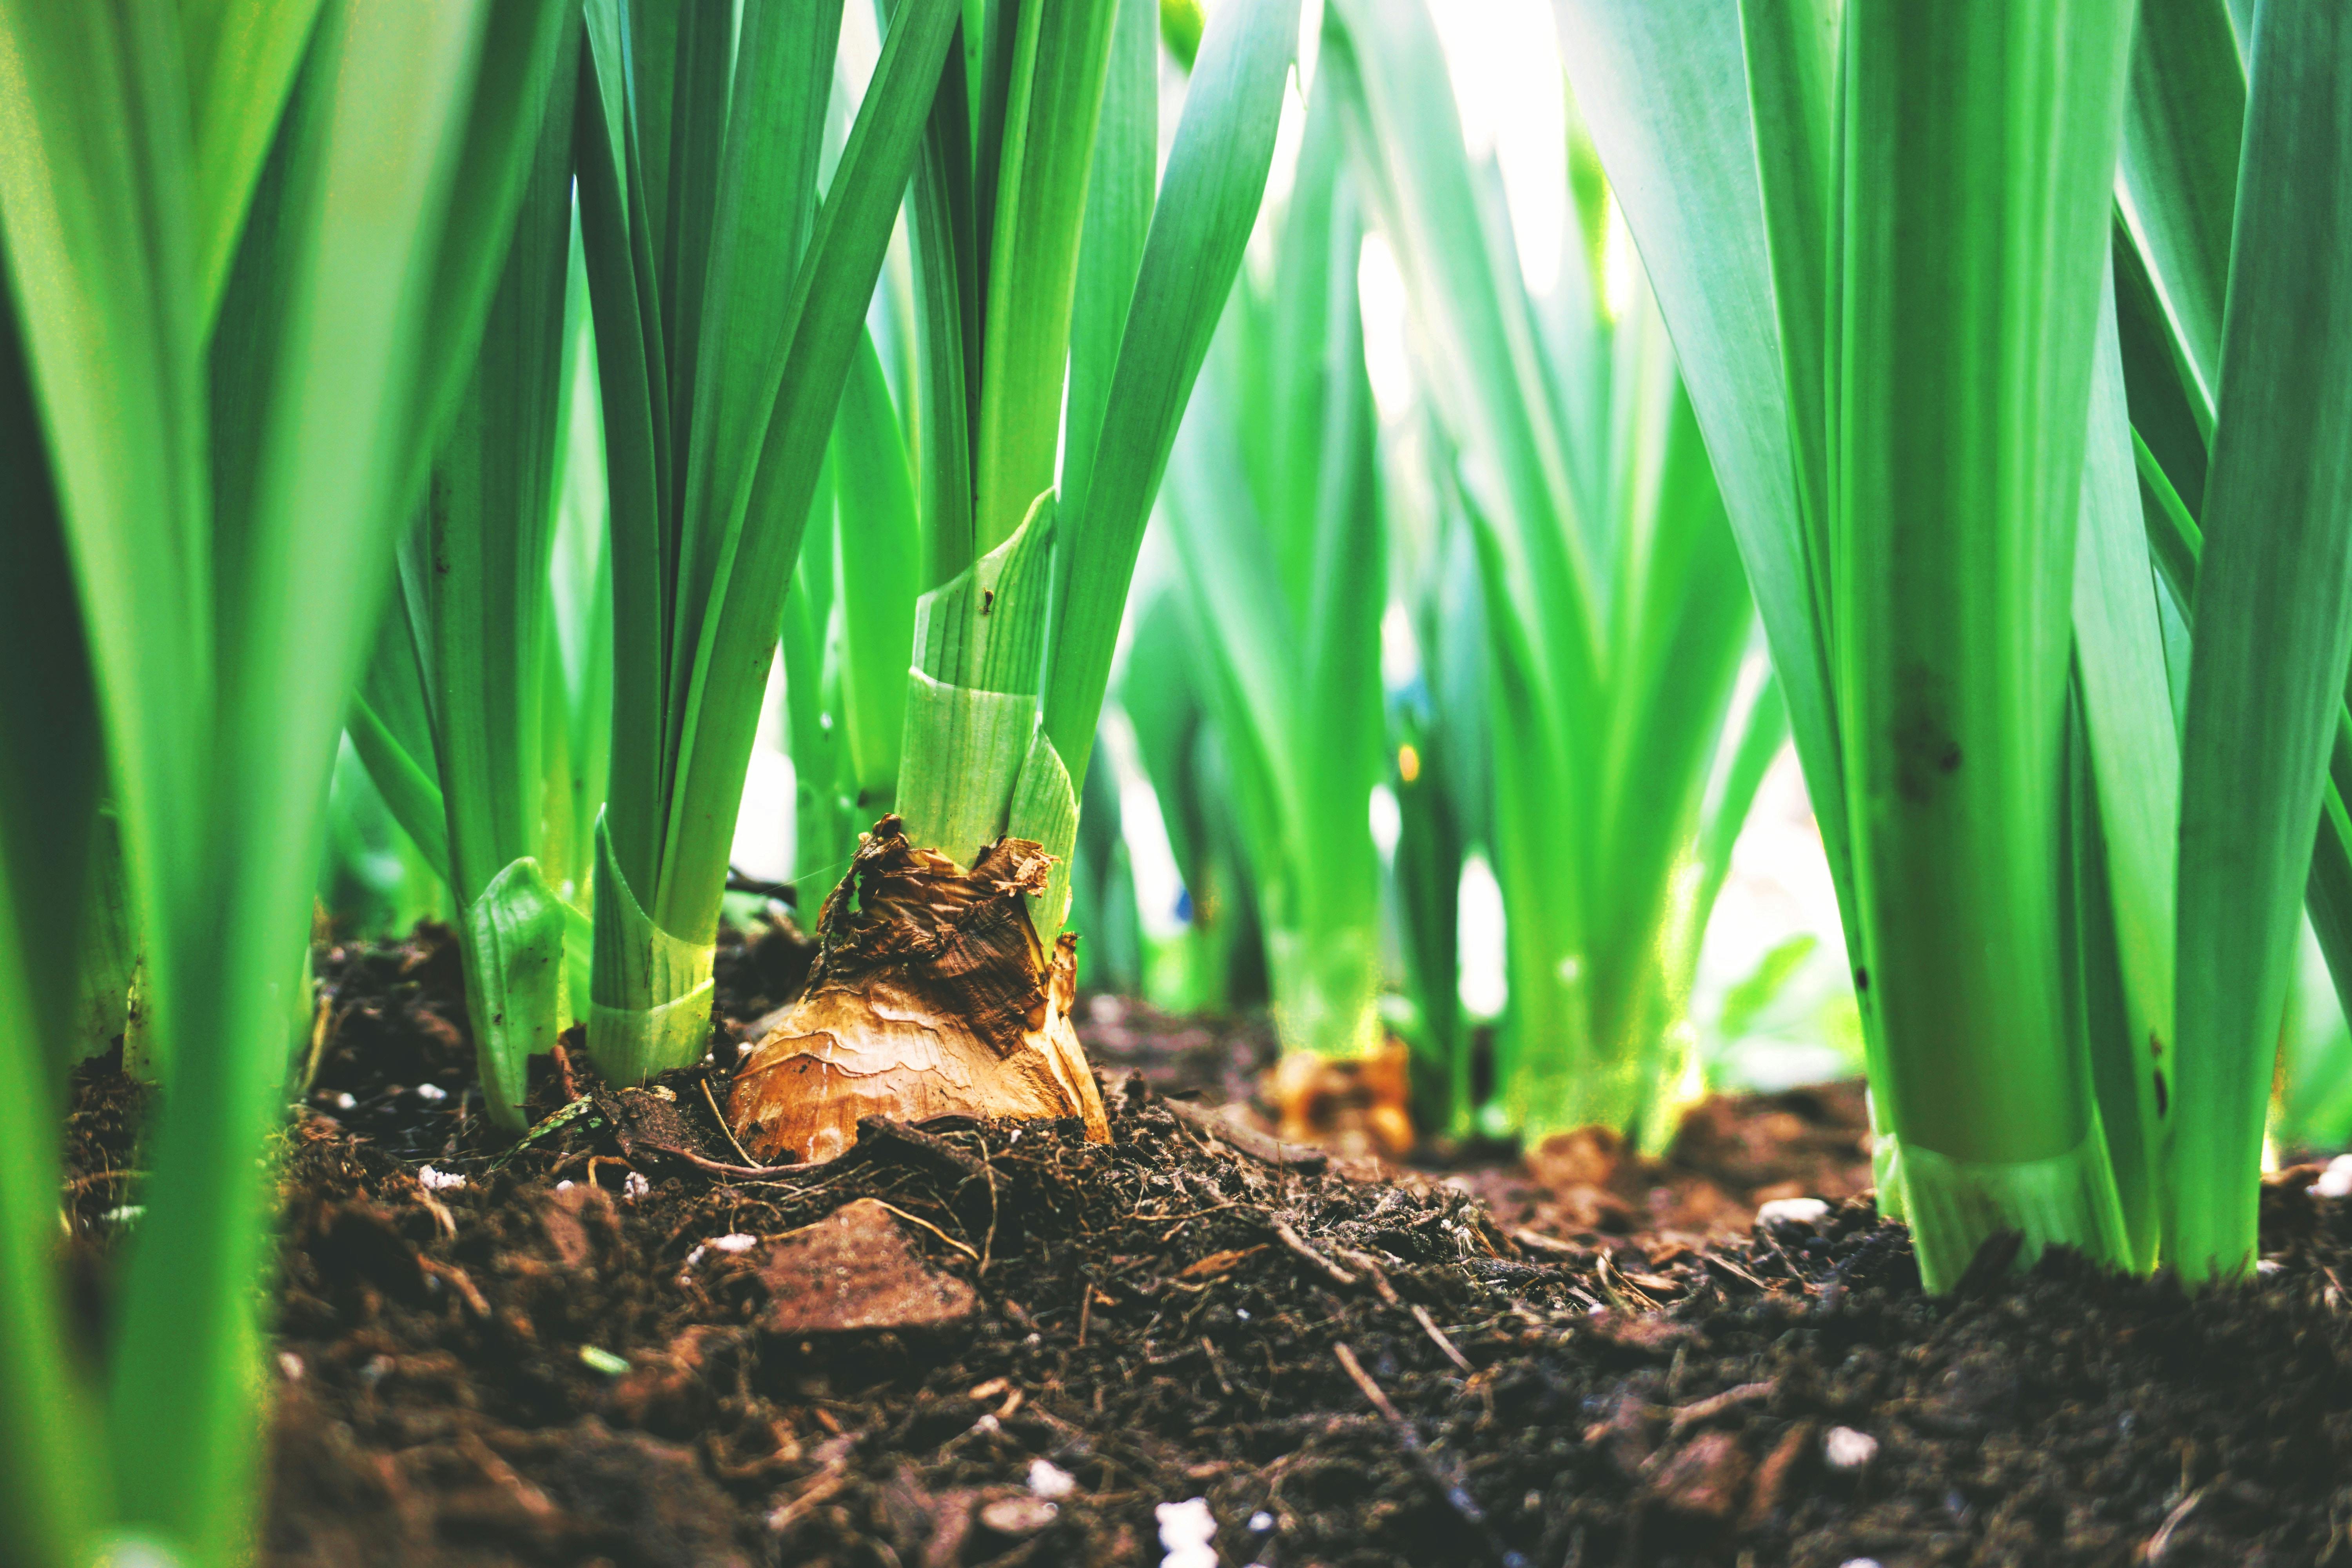
5. Mulching for Moisture Retention
Apply an organic mulch, such as straw or crushed leaves, to preserve moisture, reduce weeds, and regulate soil temperature. Mulching also protects the garlic bulbs from frost heaving during winter and promotes even growth throughout the growing season. Ensure the mulch layer is 3–4 inches thick for optimal insulation.
6. Watering and Fertilizing
Garlic requires consistent moisture throughout its growth cycle, especially during bulb formation. Water deeply once or twice a week to keep the soil uniformly wet but not saturated. Avoid overhead watering to prevent fungal diseases and focus on delivering water directly to the soil. Additionally, fertilize garlic with a balanced fertilizer high in nitrogen to promote leafy growth and robust bulb development.
7. Managing Pests and Diseases
While garlic is relatively pest and disease-resistant, occasional challenges may arise, particularly from aphids, thrips, and fungal pathogens. Monitor your plants regularly for signs of infestation or disease, such as yellowing foliage or stunted growth, and promptly address any issues with organic remedies like neem oil or garlic spray.
8. Harvesting and Curing Garlic
Harvest garlic when the lower leaves begin to yellow and wither, typically in late spring or early summer. Carefully dig up the bulbs using a garden fork or trowel, taking care not to damage the delicate skin. Shake off excess soil and allow the bulbs to cure in a warm, dry location with good air circulation for 2-3 weeks, until the outer layers are papery and the cloves are firm.
9. Storing Garlic for Longevity
Once cured, trim the roots and tops of the garlic bulbs to clean them up, leaving the outer skins intact. Store the bulbs in a cool, dry place away from direct sunlight, such as a mesh bag or ventilated container, to prolong their shelf life. Properly stored garlic can last for several months, providing you with a steady supply of fresh, flavorful cloves.
Conclusion:
Embark on your garlic-growing adventure with confidence, armed with the knowledge and expertise to nurture your own flavorful harvest. From selecting premium seeds to mastering cultivation techniques, each step of the journey promises excitement and fulfillment. Embrace the magic of planting garlic seeds and savor the satisfaction of cultivating your own culinary treasure trove.
FAQs
How long does it take for garlic seeds to sprout? Garlic seeds typically take 7–10 days to sprout under optimal conditions, with visible green shoots emerging from the soil.
Can I plant store-bought garlic? While you can plant store-bought garlic, it’s best to choose organic bulbs from reputable suppliers to ensure viability and avoid chemical treatments that may inhibit growth.
What are the different types of garlic? There are two varieties of garlic: softneck and hardneck. Softneck varieties are known for their long storage lives and mild flavor, while hardneck varieties produce larger cloves and are prized for their complex taste profiles.
When is the best time to plant garlic seeds? The best time to plant garlic seeds is in the fall, typically 4-6 weeks before the first frost date in your area. This allows the cloves to establish roots before winter dormancy and promotes early growth in the spring.
How deep should I plant garlic seeds? Plant garlic seeds 2 inches deep in well-prepared soil, with the pointed end facing up and the root end facing down. Ensure the cloves are spaced 6–8 inches apart in rows to allow for proper root development and bulb formation.
How do I know when garlic is ready to harvest? Garlic is ready to harvest when the lower leaves begin to yellow and wither, typically in late spring or early summer. Dig up the bulbs carefully and inspect them for firm, well-formed cloves before curing.